What Is a Basin Faucet and How Does It Work?

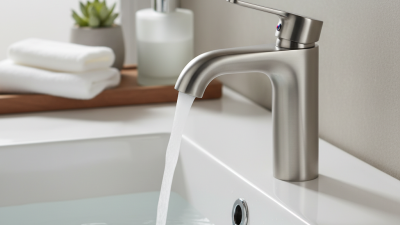
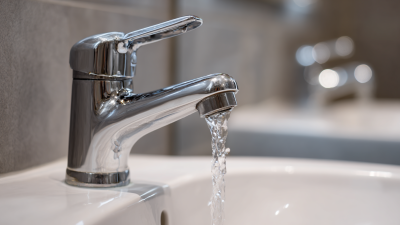
A basin faucet is the fitting that delivers controlled water into a bathroom basin. It connects the household water supply to the sink while directing water through a spout. Unlike a kitchen faucet, it is usually smaller and designed for handwashing, shaving, and everyday bathroom tasks. Its visible parts include the handle, spout, aerator, and base. Simple? Not always.

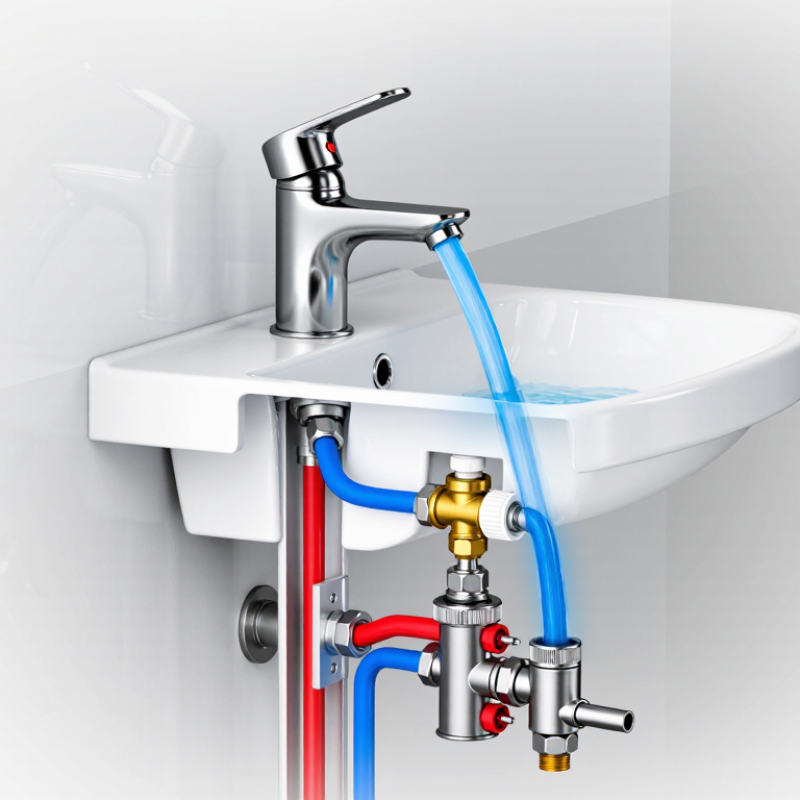
Inside, supply pipes carry hot and cold water toward the faucet. Flexible hoses connect those pipes to the faucet body beneath the basin. A single-handle model uses a cartridge to balance temperature and flow. Moving the handle left or right changes the water temperature. Lifting it increases the flow rate. Two-handle designs use separate valves for hot and cold water. Ceramic discs often provide smooth control and reduce dripping when properly maintained. At the spout, the aerator mixes air with water, creating a softer stream and limiting splashing. You may notice the difference when water lands quietly on the basin surface.

A good explanation must also consider installation details. The basin’s mounting holes, water pressure, hose connections, and available space all matter. An experienced installer checks for leaks after opening each supply valve slowly. That small step prevents water from collecting inside the cabinet. Choosing a trusted manufacturer can improve reliability, but no faucet lasts forever. Seals wear. Mineral deposits build up. The design may look elegant, yet maintenance still matters. This guide examines what a basin faucet does, how its internal parts work, and what practical signs indicate a sound installation. One detail is easy to overlook: correct alignment often matters as much as appearance.
What Is a Basin Faucet and How Does It Work?

Basin Faucet Definition: Function, Scope, and Common Applications

A basin faucet is the water-control fitting installed on a washbasin. It regulates hot and cold water through a cartridge, ceramic disc, or separate valves. Inside the spout, an aerator mixes air with water and creates a softer, less splashing stream. The fitting may be deck-mounted or wall-mounted. Common formats include single-hole, centerset, widespread, and touchless designs.

Its scope extends beyond household bathrooms. Basin faucets serve hotel rooms, offices, schools, healthcare areas, public washrooms, and utility spaces. The U.S. Environmental Protection Agency’s WaterSense specification limits qualifying bathroom faucets to 1.5 gallons per minute, compared with the federal maximum of 2.2 gallons per minute. That difference can reduce water use without making handwashing feel weak. The Water Research Foundation’s Residential End Uses of Water, Version 2, also treats bathroom fixtures as measurable contributors to indoor demand, not minor decorative details.

In practice, selection depends on basin depth, mounting holes, water pressure, user needs, and cleaning frequency. A shallow basin can turn a powerful stream into a messy splash. A low-flow label alone proves little; poor aerator design may reduce comfort. I check the flow pattern, cartridge access, and replacement-part availability before specifying one. This step is easy to overlook. Touchless models suit busy public spaces, while lever handles remain practical for homes and accessible bathrooms. Hard water can clog aerators quickly, so routine cleaning still matters. EPA WaterSense guidance supports efficiency, but installation quality often decides the real result.

Core Components: How Cartridges, Aerators, and Handles Control Water

What Is a Basin Faucet and How Does It Work?

A basin faucet delivers controlled water through a compact assembly above a sink. Its visible handle moves an internal cartridge, which regulates both flow and temperature. In a single-handle model, lifting the handle opens the water passage. Turning it changes the balance between hot and cold supplies. Two-handle designs use separate controls, so adjustment feels more deliberate. The cartridge is the working core. Ceramic discs or a sealed valve inside it move with the handle. When these parts wear, the handle may feel rough, drip, or require extra pressure. That detail matters.

The aerator sits at the spout opening. It mixes air into the water stream, creating a softer flow while reducing splashing. Small mesh screens inside can trap mineral particles, especially in hard-water areas. A partly blocked aerator often produces an uneven stream rather than a full failure. Leaks leave clues. Water around the handle can suggest cartridge wear, while moisture at the spout may point to a damaged seal. Shut off the supply before inspection, and keep small parts in order. It is easy to lose one.

In practical maintenance, clean the aerator gently and avoid forcing a stiff handle. Excessive force can damage internal seals or distort the cartridge housing. Not every drip comes from the same component. A careful check prevents unnecessary replacement. I have found that simple symptoms can be misleading, particularly when loose connections imitate cartridge problems. The faucet may look uncomplicated, but each part affects the others. That is why accurate diagnosis matters more than quick tightening.

Water Flow Mechanics: Pressure, Temperature Mixing, and the 1.5 GPM Standard

A basin faucet controls water at the point of use. Its cartridge or valve opens when you lift or turn the handle. Pressurized water then travels through the body and aerator. Pressure matters. The U.S. Environmental Protection Agency’s WaterSense faucet specification sets a maximum flow of 1.5 gallons per minute at 60 psi. This limit supports efficient use without making handwashing feel weak. The actual stream can change when household pressure drops, several fixtures operate, or mineral deposits narrow the aerator.

Temperature mixing happens inside the valve. Hot and cold water enter separate passages, then combine as the handle changes their proportions. A single-lever cartridge shifts this balance continuously. Two-handle designs adjust each supply independently, which can feel more precise but often needs extra movement. The American Society of Sanitary Engineering’s scald-prevention standard, ASSE 1070, addresses temperature-limiting devices used with plumbing fixtures. These devices can reduce sudden temperature swings, especially when a toilet flush changes the cold-water demand.

The 1.5 GPM figure is measured under controlled conditions. Real bathrooms are less tidy. Long supply lines, restrictive shutoff valves, and clogged screens may reduce performance. The U.S. Department of Energy’s plumbing efficiency guidance also recognizes pressure and flow as connected, rather than interchangeable. A faucet may meet its rated flow yet feel disappointing at low pressure. That is the part specifications sometimes hide. Check the aerator, supply valves, and incoming pressure before replacing the entire faucet.

Faucet Types and Materials: Centerset, Widespread, Wall-Mounted, and More

A basin faucet is the fitting that controls water flow into a bathroom basin. Inside, a cartridge or valve regulates hot and cold water. The mixed stream then passes through an aerator, which softens the flow and reduces splashing. Small parts matter.

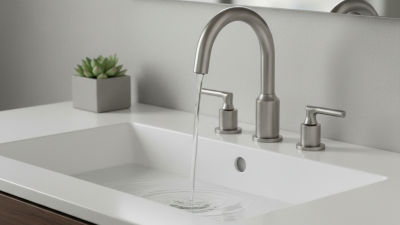
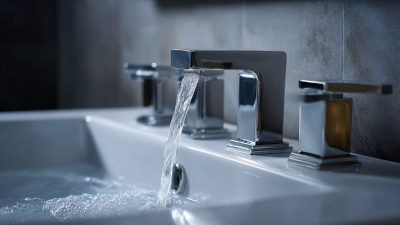
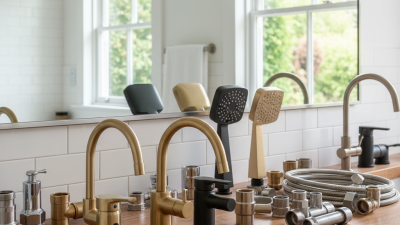
Centerset faucets combine the spout and handles on one base. They usually suit basins with three holes spaced about four inches apart. Widespread faucets separate these parts, creating a broader, more adjustable layout. They often fit holes spaced between eight and sixteen inches apart. Single-hole models use one opening and offer a clean, compact appearance. Wall-mounted faucets attach above the basin, so supply pipes must run inside the wall. This design saves deck space but requires accurate height and reach measurements.

Material affects durability and maintenance. Solid brass bodies resist stress and usually provide dependable service. Stainless steel offers strong corrosion resistance and a crisp appearance. Some faucets use zinc-based outer parts, which may cost less but can age faster in damp rooms. Ceramic cartridges generally operate smoothly and tolerate repeated use. Check the basin thickness, hole pattern, water connections, and spout reach before installation. Measurements are easy to misread. Even experienced installers can overlook a shallow basin, causing water to strike near the rim. That small mismatch can make a well-made faucet frustrating to use.

Installation and Maintenance: Connections, Leak Testing, and Service Life Factors

What Is a Basin Faucet and How Does It Work?

A basin faucet mixes hot and cold water through internal cartridges or ceramic discs. Lifting the handle opens the valve and changes water temperature. The spout then directs water into the basin. Installation starts with isolating both shutoff valves and cleaning the mounting surface. Fit the gasket beneath the faucet, tighten the fixing nut evenly, and connect the flexible hoses without twisting them. Compression fittings usually need no thread tape. Over-tightening can damage seals, a mistake I still see during rushed installations.

After connection, open each shutoff valve slowly. Keep a dry tissue around every joint for several minutes. It reveals small leaks better than a quick visual check. Test the faucet at full flow, then close it and watch the spout for dripping. The U.S. Environmental Protection Agency’s WaterSense specification limits qualifying bathroom faucets to 1.5 gallons per minute at 60 psi, compared with the federal 2.2-gpm maximum. Lower flow can reduce splashing, but poor aerators may feel weak.

Service life depends on water hardness, pressure changes, cleaning chemicals, and handle frequency. ASME A112.18.1/CSA B125.1 covers plumbing supply fittings and performance requirements. Replace cracked hoses or flattened washers promptly. Do not wait for a cabinet puddle. Mineral deposits can also make ceramic cartridges feel rough. In my experience, gentle aerator cleaning helps, although it cannot repair worn seals. Annual inspection is sensible, but local water conditions may demand earlier service.

What Is a Basin Faucet and How Does It Work? — Installation, Maintenance, Leak Testing, and Service Life Factors
Topic Component or Procedure How It Works Typical Requirements or Values Maintenance and Service Notes
Definition Basin faucet A plumbing fitting that controls and directs water into a washbasin. It may use one handle, two handles, or a sensor-operated control system. Usually installed on the basin deck, countertop, or wall behind the basin. Choose a faucet with a mounting arrangement and spout reach compatible with the basin.
Water Control Valve or cartridge The valve regulates water flow and, in mixer faucets, combines hot and cold water before it leaves through the spout. Common designs include ceramic-disc cartridges, compression valves, and thermostatic or sensor controls. A dripping faucet after the handle is fully closed often indicates worn seals, a damaged cartridge, debris, or excessive water pressure.
Water Outlet Spout and aerator The spout guides water toward the basin. The aerator mixes air with the water stream and helps reduce splashing. Typical household aerators commonly provide approximately 1.9–8.3 L/min, depending on the fitting and local requirements. Remove and clean the aerator periodically to clear mineral deposits and restore an even flow.
Mounting Mounting holes and fixing hardware The faucet body is secured through one or more holes in the basin or countertop using a mounting plate, washer, and fixing nut. Hole spacing and diameter must match the faucet design. Single-hole and multi-hole installations are not always interchangeable. Tighten the fixing nut evenly from below. Avoid overtightening, which can damage ceramic, stone, or plastic surfaces.
Connections Flexible supply hoses Flexible hoses connect the faucet inlet tails to the hot and cold water service valves and allow limited movement during installation. Connections must match the fitting size, thread type, and local plumbing standard. Supply lines should not be kinked or sharply bent. Replace hoses showing corrosion, bulges, cracked outer coverings, damaged threads, or signs of seepage.
Connections Threaded joints and sealing washers Many faucet connections seal with a flat rubber or fiber washer compressed between mating surfaces. Some tapered threaded joints require an approved thread sealant. Use the sealing method specified for the joint. Do not apply thread tape to a connection designed to seal with a captive washer. Cross-threading can cause leaks and permanently damage the fitting. Start threaded connections by hand before using a wrench.
Installation Preparation and isolation The water supply is shut off before the old faucet is removed and the basin area is cleaned so that seals can sit evenly. Open the existing faucet after closing the service valves to release residual pressure. If the service valves do not close fully, the main water supply may need to be isolated by a qualified person.
Installation Faucet alignment The faucet is positioned so the spout discharges into the basin without striking the rim or surrounding countertop. The handle should be accessible and the spout should provide adequate clearance for normal handwashing. Check alignment before final tightening because repositioning may be difficult after the supply hoses are connected.
Leak Testing Initial pressure test After installation, the service valves are opened slowly while all joints are inspected for water movement or moisture. Pressurize the system gradually and check both hot and cold connections. Use a dry tissue around each joint; a small leak is easier to detect on tissue than by visual inspection alone.
Leak Testing Operational test The faucet is opened and closed several times, and the handle is moved through its full operating range to check the valve and connections. Inspect the spout base, handle area, aerator, supply hoses, and underside of the basin. Recheck the joints after several minutes and again after the first few uses because seals may settle under pressure.
Maintenance Cleaning the aerator The aerator is removed, rinsed, and gently brushed to eliminate sediment and scale that restrict the outlet. Cleaning frequency depends on water hardness and sediment levels; more frequent cleaning may be needed in hard-water areas. Avoid sharp tools that can deform the screen or damage the aerator threads.
Maintenance Surface care Routine cleaning removes soap residue, salts, and deposits that can degrade finishes and seals over time. Use a soft cloth and a mild, non-abrasive cleaner suitable for the faucet surface. Avoid abrasive powders, steel wool, strong acids, and chlorine-based products unless specifically approved for the surface.
Maintenance Valve and seal inspection Internal seals, O-rings, cartridges, and washers control water flow and prevent leakage at moving or joined parts. Inspection is generally needed when the faucet becomes stiff, noisy, difficult to control, or begins to drip. Replace damaged seals with correctly sized parts and clean the valve seat before reassembly.
Water Pressure Operating pressure Excessive pressure increases stress on cartridges, hoses, seals, and joints, while insufficient pressure can reduce performance. Many domestic plumbing systems operate approximately between 2 and 5 bar, but local specifications and faucet limits apply. A pressure-reducing valve or pressure test may be appropriate if repeated failures occur across the plumbing system.
Service Life Expected durability factors Service life depends on material quality, water chemistry, usage frequency, installation accuracy, pressure, temperature, and maintenance. There is no universal replacement interval; individual cartridges, washers, hoses, and aerators may require service before the faucet body. Replace the fitting when corrosion, cracking, persistent leakage, unsafe mounting, or unavailable replacement parts make repair impractical.
Troubleshooting Low or uneven flow Restricted aerators, blocked supply lines, partially closed valves, or debris in the cartridge can reduce flow. Check the service valves first, then inspect the aerator and supply hoses. If only hot or cold flow is affected, inspect the corresponding supply line and valve inlet.
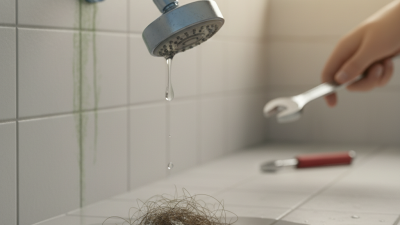
Troubleshooting Persistent dripping A drip may result from a worn cartridge, damaged washer, contaminated valve seat, excessive pressure, or a loose connection. Close the service valves before removing internal components. If replacing the cartridge does not stop the drip, inspect the valve body and confirm that the replacement part is correctly seated.
Safety When professional service is needed Professional assistance may be necessary when a shutoff valve fails, concealed pipework leaks, fittings are corroded, or the basin or countertop is damaged. Stop using the faucet if water is reaching electrical equipment, cabinetry, or concealed building materials. A qualified plumber should handle work requiring changes to fixed pipework or local code compliance.